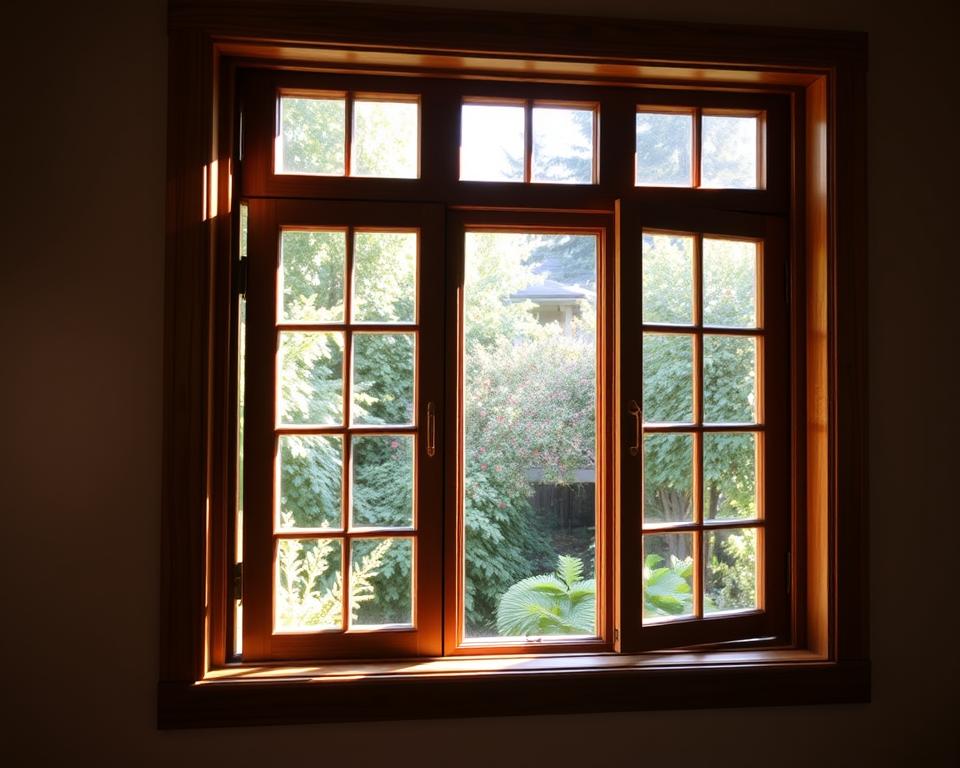
Welcome to our comprehensive guide on building a custom window from scratch! This project is perfect for DIY enthusiasts looking to add a personal touch to their homes while saving money. Building your own window allows you to choose the style, materials, and size that perfectly fit your space.
The process involves several key steps, starting with precise measurements and cutting the wood to size using a table saw. Assembling the frame requires careful joint construction and the use of clamps to ensure everything aligns properly. Traditional woodworking skills, such as creating strong joints and applying glue effectively, are essential for a durable and professional-looking finish.
In the following sections, we’ll dive into material selection, step-by-step building techniques, and expert tips for troubleshooting common issues. Whether you’re a seasoned woodworker or a beginner, this guide will walk you through every detail to help you create a beautiful, functional window.
Key Takeaways
- Building a custom window allows for personalization and cost savings.
- Precise measurements and proper joint construction are critical for success.
- Using a table saw and clamps ensures accurate cuts and alignment.
- Traditional woodworking skills enhance the durability and appearance of the window.
- Upcoming sections will cover material selection, building techniques, and troubleshooting tips.
Essential Materials and Tools for a Successful DIY Window Project
Starting your DIY window project requires the right materials and tools to ensure durability and professional results. Choosing high-quality materials is the first step toward a successful project, as they directly impact the window’s performance and longevity.
Choosing the Right Wood, Glass, and Frame Materials
Selecting the right wood is crucial for your window frame. Cedar, mahogany, and pine are popular choices due to their durability and resistance to rot. For the glass, consider using 1/16″ glass or Plexiglas for safety and ease of handling. The frame materials should be sturdy enough to support the weight of the glass and withstand environmental conditions.
The quality of the frame materials can significantly affect the finished window’s performance. Higher-quality woods and glass will ensure better insulation and structural integrity.
Must-Have Tools and Equipment Setup
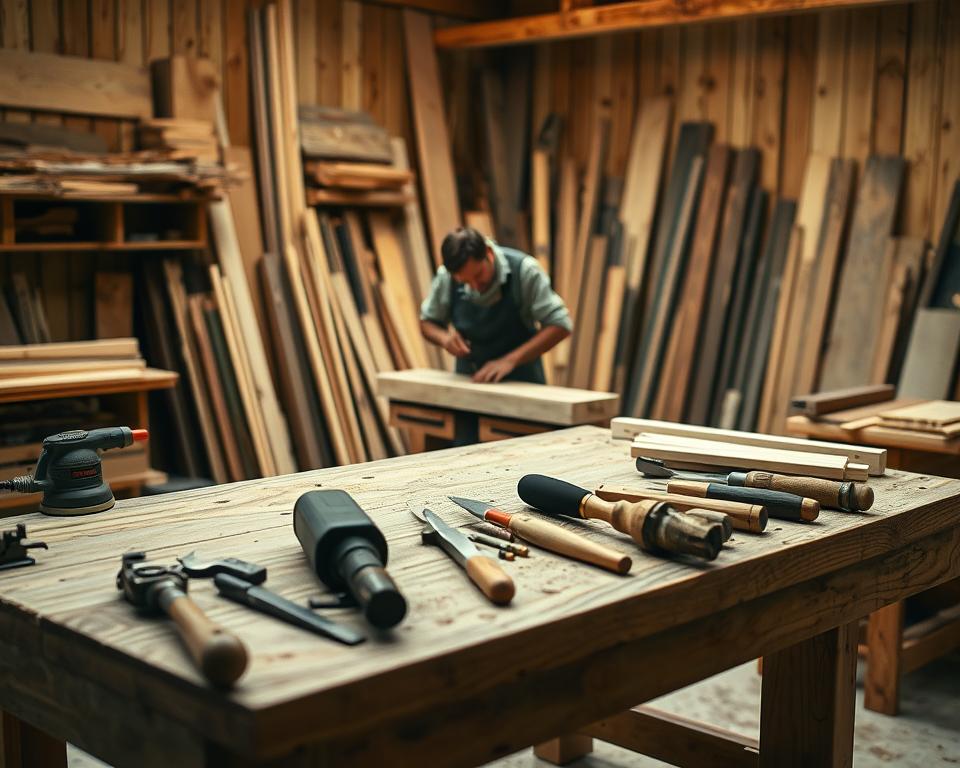
To get started, you’ll need a table saw for cutting wood to size, a miter saw for precise angles, and a router for creating joints. Clamps are essential for holding pieces in place during assembly. These tools will help you achieve accurate cuts and alignment, making the assembly process much smoother.
Supplementary Supplies and Safety Considerations
Don’t forget the smaller but important supplies like glue, edge tape, and a utility knife. Safety is paramount, so always wear eye protection and use proper techniques when handling glass and power tools. Proper measurements and adjustments, such as considering the width and height of the rough opening, are vital for a perfect fit.
Step-by-Step Breakdown: How to Build a Window from Scratch
Creating a window from scratch can be a rewarding DIY project. With careful planning and execution, you can craft a durable and visually appealing window. Let’s break down the process into manageable steps.
Measuring, Cutting, and Preparing Your Wood
Start by measuring the wood accurately. Use a table saw to cut the pieces to the desired length and width. Ensure each piece fits snugly for a seamless frame assembly.

Prepare the wood by sanding the edges to prevent splinters and ensure smooth joints. This step is crucial for both safety and the final appearance of your window.
Creating the Frame and Notching Techniques
Assemble the frame using strong joints. Apply glue to the joints and clamp them firmly. Let the glue dry completely to ensure a sturdy frame structure.
Use notching techniques to create space for the glass. This step requires precision to ensure the glass fits securely and the frame remains stable.
Installing Glass and Securing with Glazing
Once the frame is ready, carefully place the glass into the notched area. Secure it using glazing putty around the edges for a tight seal. This step ensures the glass stays in place and prevents air leaks.
Final Assembly Adjustments and Finishing Touches
Before finalizing, dry-fit all components to check for any gaps or misalignments. Make adjustments as needed, then apply a finish like paint or varnish to protect the wood and enhance the appearance.
Use clamps to hold the frame steady while the finish dries. This ensures a professional-looking result and adds longevity to your window.
With these steps, you’ll have a custom window that not only saves money but also adds a personal touch to your home. Remember, patience and attention to detail are key to a successful project.
Expert Tips and Troubleshooting for Custom Window Building
Creating a custom window can be a rewarding experience, but it comes with its own set of challenges. To ensure your project turns out perfectly, here are some expert tips and troubleshooting advice to keep in mind.
Common Pitfalls and How to Avoid Them
One of the most frequent issues DIYers face is misaligned joints. To avoid this, use a table saw for precise cuts and clamps to hold pieces in place while gluing. Another common problem is improper glazing, which can lead to air leaks. Apply a thin, even layer of glazing putty around the glass edges to ensure a tight seal.
- Always double-check measurements before cutting wood to prevent irregular cuts.
- Use high-quality glue and let it dry completely to ensure sturdy joints.
- For perfect alignment, consider using a miter saw to achieve precise angles.
Maintenance Tips for Long-Lasting Windows
To keep your custom window looking its best and functioning well, regular maintenance is key. Reapply caulk around the edges every few years to prevent water damage and air leaks. Additionally, waxing the wood surface can protect it from environmental wear and tear.
- Inspect the frame and glass regularly for signs of damage or wear.
- Reapply wax or paint as needed to maintain the wood’s finish and protection.
- Use a soft cloth to clean the glass and frame, avoiding harsh chemicals that might damage the materials.
By following these expert tips and maintaining your window regularly, you can enjoy your custom creation for years to come. Remember, patience and attention to detail are essential for a professional-looking result.

Conclusion
Creating a custom window from scratch is a rewarding project that combines practicality with creativity. By following the steps outlined in this guide, you can craft a window that enhances your home’s aesthetics and functionality. Remember, precision and patience are key to achieving professional results.
Key takeaways include: selecting high-quality materials like durable wood and secure glass, using tools such as a table saw for precise cuts, and ensuring strong joints with proper glue application. Each step, from measuring the wood to securing the glass, plays a crucial role in the final product’s durability and appearance.
Regular maintenance, such as reapplying caulk and waxing the wood, will keep your window in great condition. For troubleshooting, double-checking measurements and ensuring even glazing putty application can prevent common issues like air leaks.
Embrace the satisfaction of building a custom window that not only saves money but also adds a personal touch to your home. With careful planning and execution, your DIY project will result in a beautiful, functional window that lasts for years to come.


